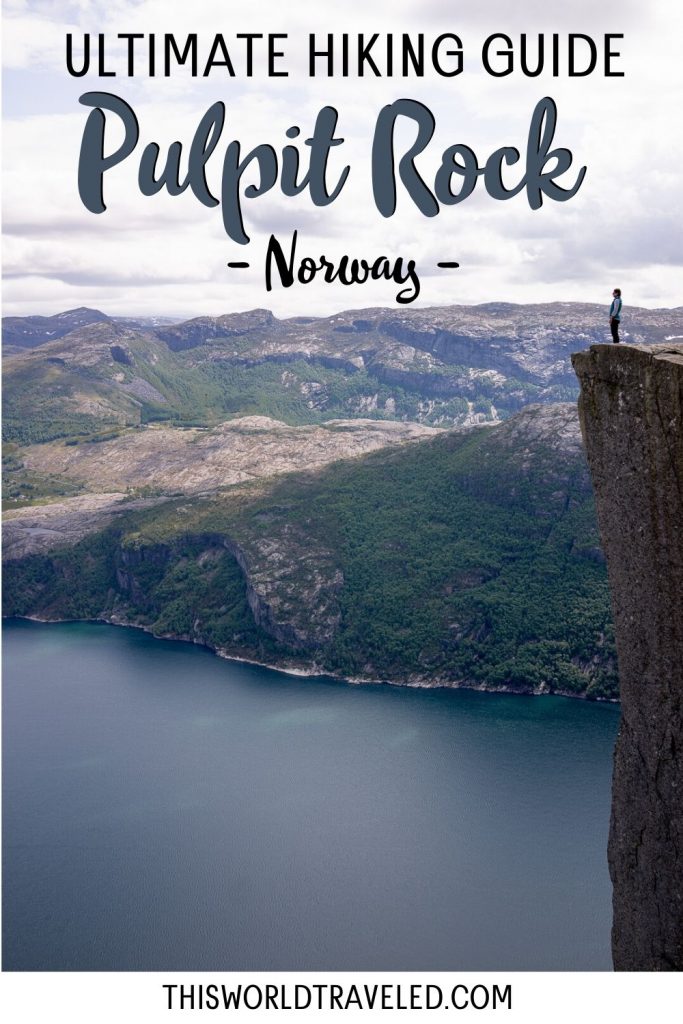
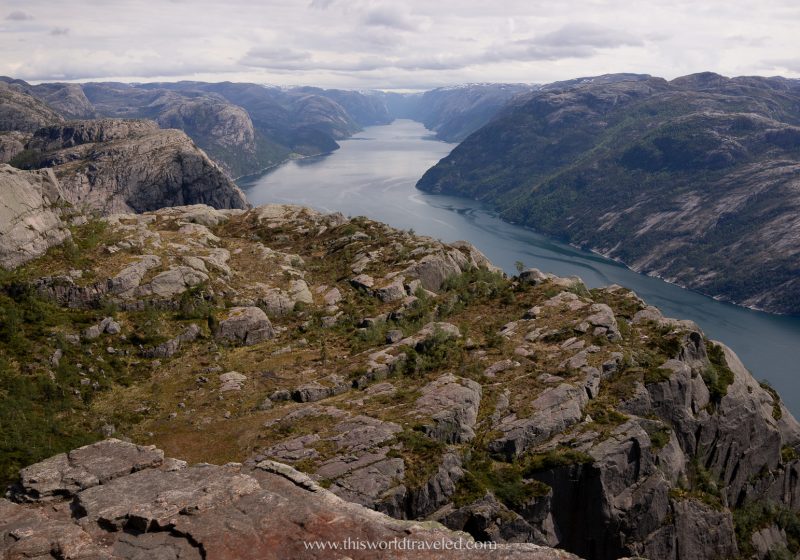
The Preikestolen hike is one of Norway’s most popular trails due to its’ moderately easy terrain and impressive square shaped plateau which offers incredible views over the Lysefjorden. Located in Ryfylke near the southwestern town of Stavanger and a short drive from the coast you’ll find yourself at the trailhead for Preikestolen, also known as Pulpit Rock in English.

You can complete the Pulpit Rock hike or take a fjord boat tour to see this famous rock plateau. This complete guide with tell you everything you need to know about visiting Preikestolen and what to expect when you are there!
Disclaimer: This post may contain affiliate links, meaning I may receive a small compensation at no additional cost to you. I only recommend products or services that I personally use and have been essential for me as a travel blogger.
Traveling to Norway? Don’t leave home without getting travel insurance! You never know when something could go wrong and you’ll definitely want to be covered by insurance! Click HERE to get a quote!
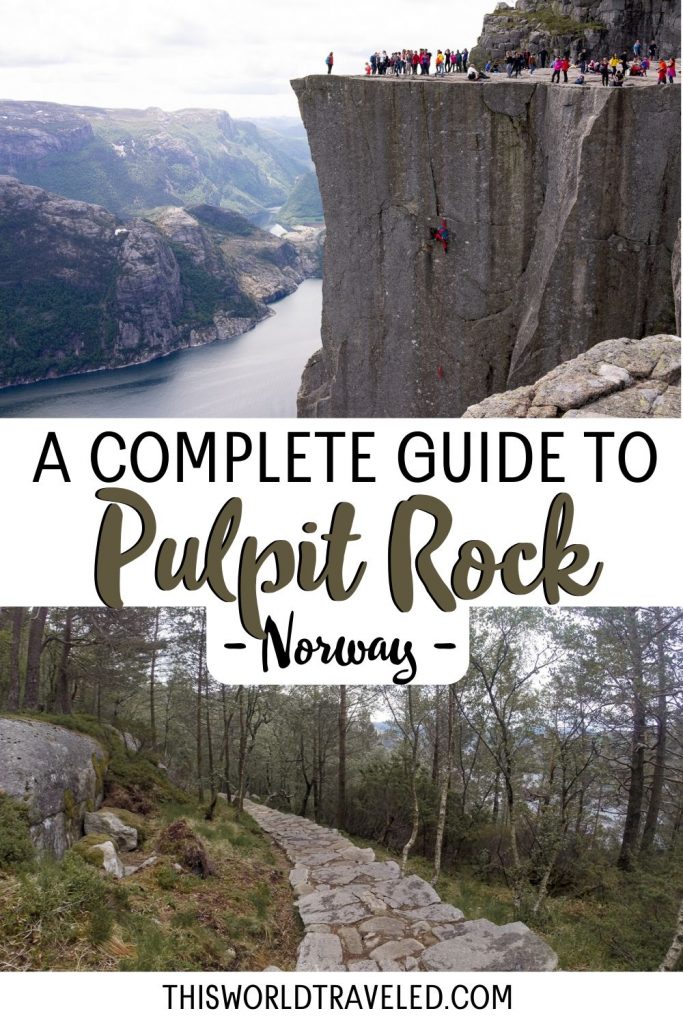
LIKE THIS POST? PIN IT FOR LATER!

Quick Facts About Preikestolen
Distance of the Pulpit Rock hike: 8km (~5 miles)
Total Elevation gain at Preikestolen: 350 meters (1,150 feet)
Length of time to hike: 4-5 hours roundtrip
Difficulty of the hike: Easy to Moderate, good physical condition recommended
Hiking Preikestolen, or Pulpit Rock, in Norway
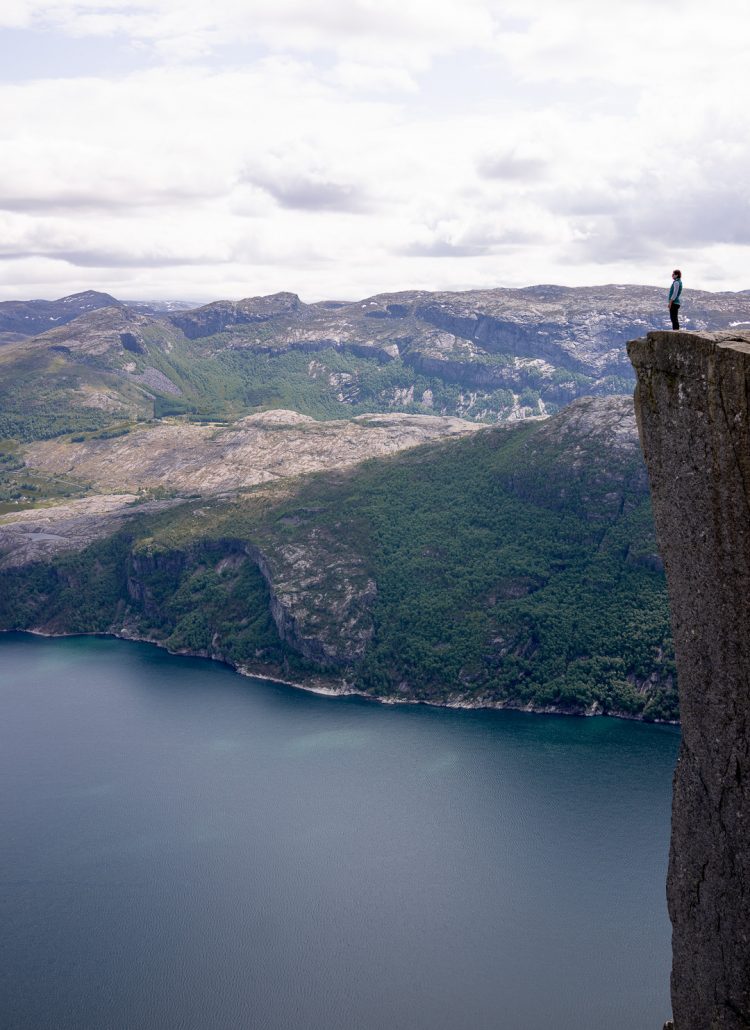
Pulpit rock is a protruding, shear cliff face with a large flat top that overlooks a 604 meter (nearly 2000 foot) drop into the fjord below. To reach the cliff, travelers are treated to a moderate hike over a well groomed trail with scenic views. The Preikestolen hike is moderately difficult and is 8 kilometers (about 5 miles) long roundtrip.
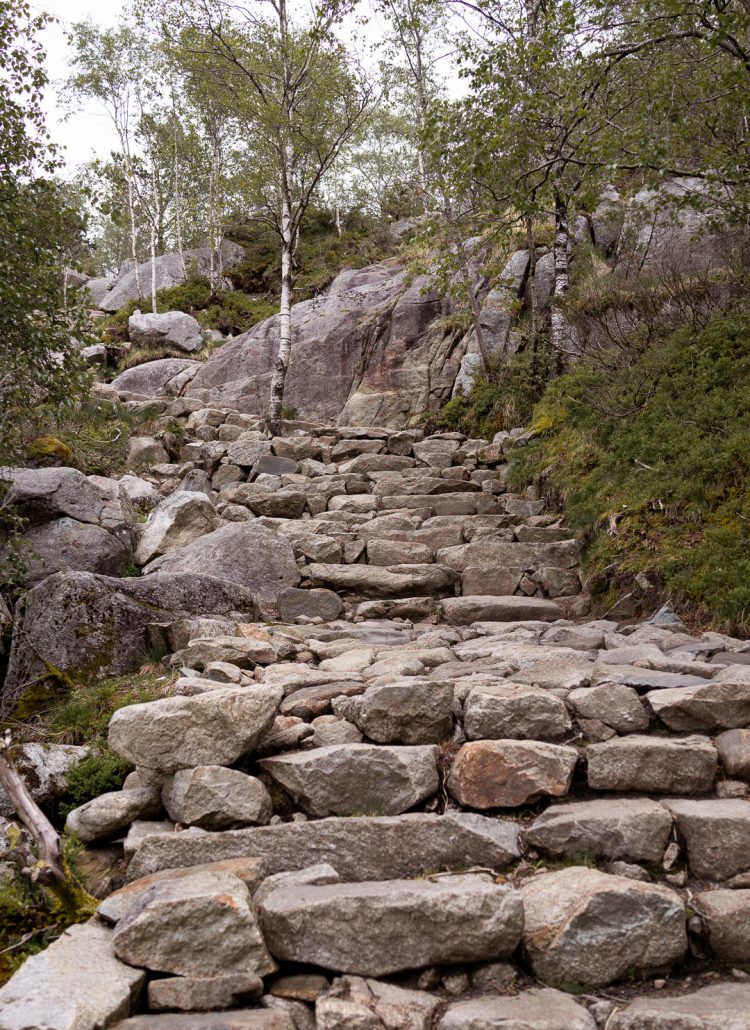
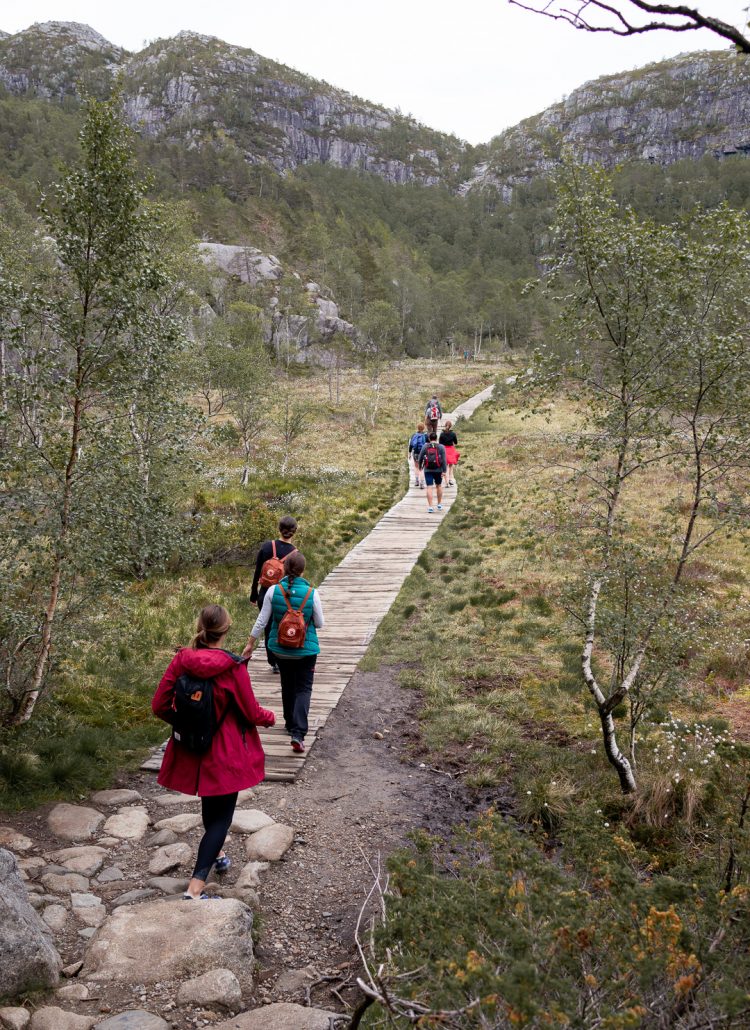
The trail begins directly from the parking lot of the Preikestolen Mountain Lodge (Preikestolen Fjellstue) with an immediate elevation change within a short distance. It is definitely advised to take it slow if you’re not used to the elevation. These pressure changes can leave you out of breath and dehydrated very quickly.
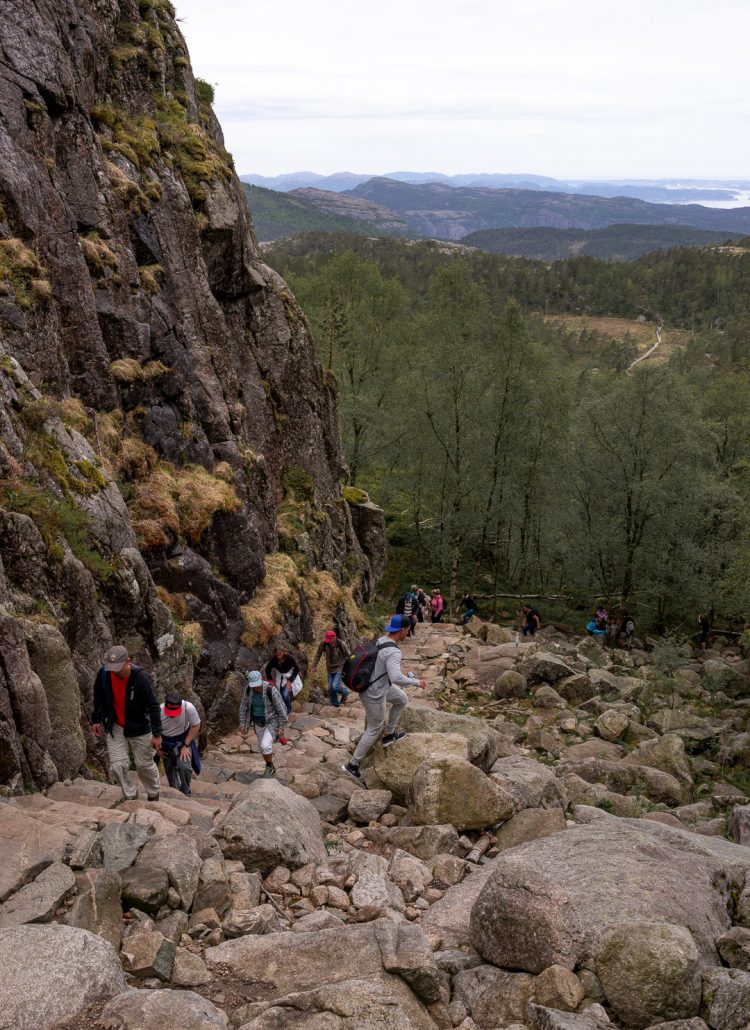
The trail, which continues about 2.5 miles before reaching pulpit rock, alternates between flat surfaces and large elevation gains for the duration of the hike. Some portions of the trail may have you climbing over a few rocks, but nothing that is too difficult. If it has rained recently, or is currently raining, be sure to tread lightly as the trail can become slippery.
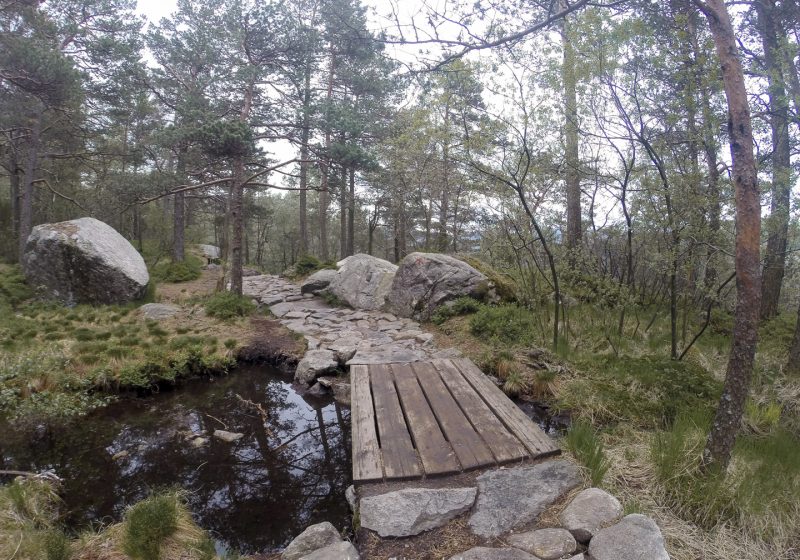
The well groomed path is mostly made up of large flat stones built by Nepalese Sherpas. This provides easier traffic flow and more stable hiking paths. You will also encounter areas of wooden planked paths. This will definitely make the hike easier during those elevation changes.
In total it takes anywhere from 4-5 hours to complete the Pulpit Rock hike depending on your athletic ability and how often you stop to take photos. The hike is nearly as striking as the final destination, with lush greenery and fjord views along the way.
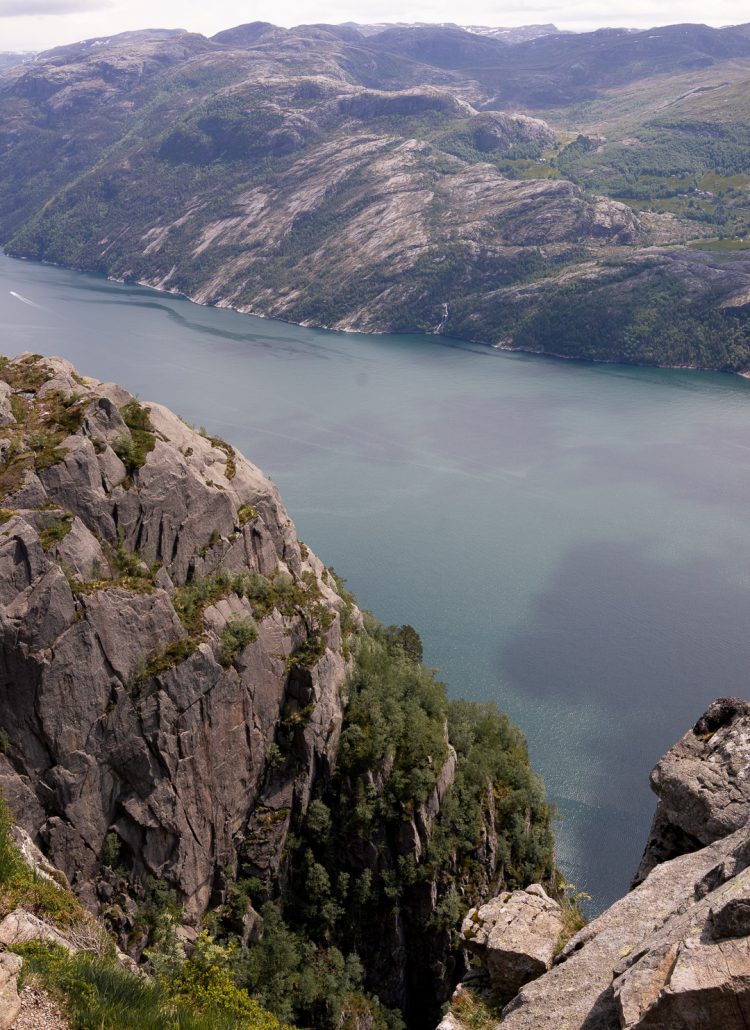

Once you reach the top you will be rewarded with stunning views of the sheer cliff that rises 1,982 feet above the narrow, deep Lysefjorden.
How to Get to Preikestolen from Stavanger by Car
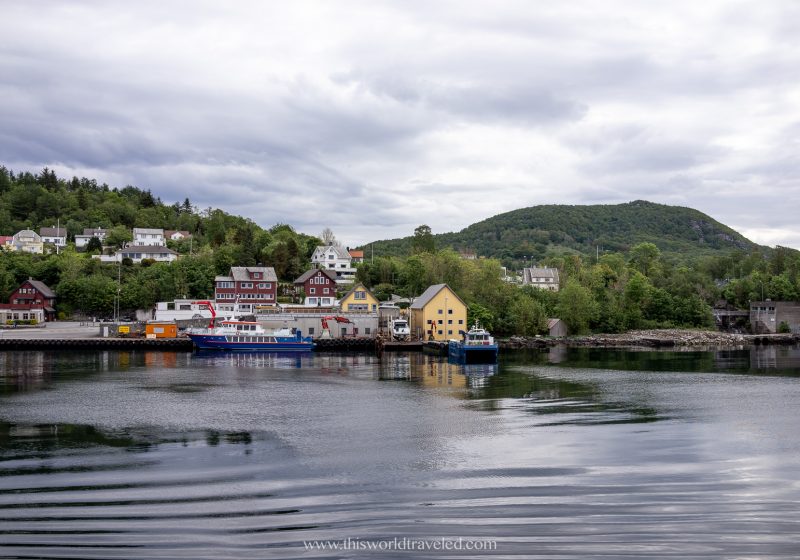
When I visited Pulpit Rock in 2016 the only option was to take the ferry from Fiskepirterminalen in Stavanger to Tau. Since then they have opened up a driving tunnel called Ryfylketunnelen or Ryfast Tunnel. This tunnel goes from Stavanger to Tau and is now the world’s longest sub-sea (underwater) tunnel!
How cool is that?
The drive from Stavanger, Norway to Pulpit Rock via the Ryfylketunnelen should take around 45 minutes. As of 2020 the toll costs 134 NOK ($14 USD) one way to drive through the Ryfast Tunnel.
Enter Preikestolen parking into your GPS or save the map above by clicking the star next to the title.
There is a parking lot at the Preikestolen Mountain Lodge (Preikestolen Fjellstue) where you can park your car for the duration of the hike. The parking fee at Preikestolen is 250 NOK ($26 USD) as of 2020 which you will pay upon exiting. The trailhead is just a short distance from the parking.
There are no bathrooms along the trail so it is important to use the one near the parking. Additionally, there are no trash facilities along the trail so be sure to keep your trash on you and dispose of it when you return to the parking area.
Note: If the ferry is still running you will depart from the Stavanger Ferry Terminal and arrive in Tau. Tickets can be bought on the ferry so no reservation is needed for the journey. The ferry will take just over 30 minutes to reach Tau. From there you will drive or take the public bus another 30 min to Preikestolen Fjellstue.

How to Get to Pulpit Rock by Bus
There are a few companies that provide a service of roundtrip transportation by bus.
When to Hike Pulpit Rock
Visitors can hike Preikestolen year round. However, be aware of the changing weather conditions throughout the year and modify your hike accordingly. The ferries and buses run year- round however due to weather conditions the Pulpit Rock hike isn’t always open for hikers. The best time of year to visit Preikestolen is from April to October.
If you are hiking Pulpit Rock in the off season you will need to be more prepared by packing extra layers of clothing and appropriate footwear. You might also want to think about hiring a guide for obvious safety reasons. Note that if the weather is too severe the hike to Preikestolen will be closed off to hikers so be sure to check prior to your visit.
» You can check the local weather reports HERE.
What to Bring on the Pulpit Rock Hike
For the duration of the Pulpit Rock hike you’ll want to make sure to wear comfortable hiking boots or trail running shoes. My favorite trail shoes are from the brand Soloman and are the Speedcross model. Dress in layers and pack a light rain jacket because the weather can change quickly. I’d also recommend bringing an extra pair of socks in case it does rain so you can change into dry ones at the end of your hike.
Be sure to pack some snacks or energy bars as there aren’t any available once you are on the trail. Due to the changes in altitude you will want to be hydrated so pack lots of water as well.
If you’re heading to Norway be sure to check out some other amazing adventures like kayaking in the fjords, chasing the northern lights, snorkeling with orcas and more!
LIKE THIS POST? PIN IT FOR LATER!

WHAT CAMERA GEAR DO I USE?
» Click HERE for the Full Travel Photography Gear Guide to see what’s in my camera bag!
- Main Camera: Sony A7III
- Wide angle lens: Sony G Master 16-35mm f/2.8
- Zoom lens: Sony 24-240mm f/3.5-6.3
- Prime lens: Sony 85mm f/1.8
- Secondary Camera: Canon 6D Mark II
- Canon wide angle lens: Canon EF 17-40mm f/4L
- Canon lens: Canon EF 24-70mm f/2.8L
- Underwater camera: Leica X-U
- Camera with gimbal: DJI Osmo Pocket & Underwater Housing
- Drone: DJI Mavic Pro 2
- Camera Bag: Polar Pro Drone Trekker
- External Hard Drive: LaCie 2 TB rugged mini external hard drive